Swagger简介
前后端分离
- 前端 -> 前端控制层、视图层
- 后端 -> 后端控制层、服务层、数据访问层
- 前后端通过API进行交互
- 前后端相对独立且松耦合
产生的问题
- 前后端集成,前端或者后端无法做到“及时协商,尽早解决”,最终导致问题集中爆发
解决方案
- 首先定义schema [ 计划的提纲 ],并实时跟踪最新的API,降低集成风险
Swagger
- 号称世界上最流行的API框架
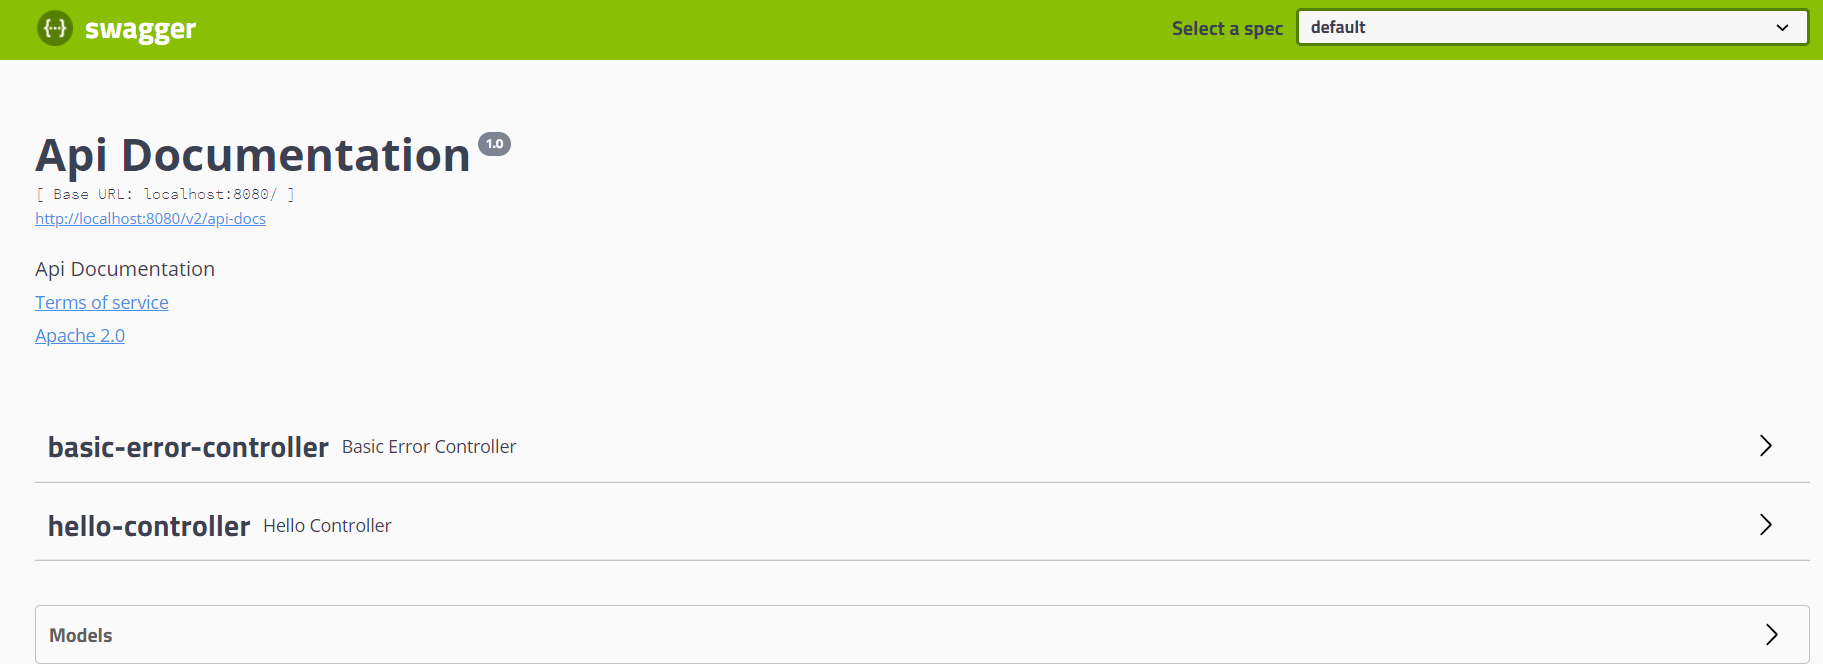
- Restful Api 文档在线自动生成器 => API 文档 与API 定义同步更新
- 直接运行,在线测试API
- 支持多种语言 (如:Java,PHP等)
- 官网:https://swagger.io/
SpringBoot集成Swagger
jdk 1.8 +
方式一:使用官方依赖
Maven依赖
1
2
3
4
5
6
7
8
9
10
11
12
| <!-- https://mvnrepository.com/artifact/io.springfox/springfox-swagger2 -->
<dependency>
<groupId>io.springfox</groupId>
<artifactId>springfox-swagger2</artifactId>
<version>2.9.2</version>
</dependency>
<!-- https://mvnrepository.com/artifact/io.springfox/springfox-swagger-ui -->
<dependency>
<groupId>io.springfox</groupId>
<artifactId>springfox-swagger-ui</artifactId>
<version>2.9.2</version>
</dependency>
|
编写一个配置类-SwaggerConfig来配置 Swagger
1
2
3
4
| @Configuration //配置类
@EnableSwagger2// 开启Swagger2的自动配置
public class SwaggerConfig {
}
|
配置Swagger
1
2
3
4
5
6
7
8
9
10
11
12
13
14
15
16
17
18
19
20
21
22
23
24
25
26
27
28
29
30
31
32
33
34
35
36
37
38
39
40
41
42
43
44
45
46
47
48
49
50
51
52
53
54
55
56
57
58
59
60
61
62
63
64
65
66
67
68
69
70
71
72
73
74
75
76
77
78
79
80
81
82
83
84
85
86
87
88
89
90
91
92
93
94
95
96
97
98
| package com.czm.swagger.config;
import org.springframework.boot.SpringBootConfiguration;
import org.springframework.context.annotation.Bean;
import org.springframework.context.annotation.Configuration;
import org.springframework.core.env.Environment;
import org.springframework.core.env.Profiles;
import springfox.documentation.builders.PathSelectors;
import springfox.documentation.builders.RequestHandlerSelectors;
import springfox.documentation.service.ApiInfo;
import springfox.documentation.service.Contact;
import springfox.documentation.service.VendorExtension;
import springfox.documentation.spi.DocumentationType;
import springfox.documentation.spring.web.plugins.Docket;
import springfox.documentation.swagger2.annotations.EnableSwagger2;
import java.util.ArrayList;
@Configuration
@EnableSwagger2
public class SwaggerConfig {
@Bean
public Docket docket(ApiInfo apiInfo, Environment environment) {
Profiles profiles = Profiles.of("dev", "test");
boolean flag = environment.acceptsProfiles(profiles);
return new Docket(DocumentationType.SWAGGER_2).apiInfo(apiInfo)
.groupName("czm")
.enable(flag)
.select()
.apis(RequestHandlerSelectors.basePackage("com.czm.swagger.controller"))
.paths(PathSelectors.ant("/czm/**"))
.build();
}
@Bean
public ApiInfo apiInfo() {
Contact contact = new Contact("czm", "baidu.com", "1233@qq.com");
return new ApiInfo("swagger的测试API", "Api Documentation的描述", "1.0版", "urn:tos",
contact, "Apache 2.0", "http://www.apache.org/licenses/LICENSE-2.0", new ArrayList<VendorExtension>());
}
@Bean
public Docket docket1() {
return new Docket(DocumentationType.SWAGGER_2).groupName("1");
}
@Bean
public Docket docket2() {
return new Docket(DocumentationType.SWAGGER_2).groupName("2");
}
}
|
实体配置
1、新建一个实体类
1
2
3
4
5
6
7
8
9
10
11
12
13
14
15
16
17
18
19
20
21
22
23
24
25
26
| @ApiModel("用户实体类")
public class User {
@ApiModelProperty("用户账号")
private String account;
@ApiModelProperty("用户密码")
private String password;
public User(){
}
public User(String account, String password) {
this.account = account;
this.password = password;
}
public String getAccount() {
return account;
}
public void setAccount(String account) {
this.account = account;
}
}
|
2、只要这个实体在请求接口的返回值上(即使是泛型),都能映射到实体项中:
1
2
3
4
| @RequestMapping("/getUser")
public User getUser(){
return new User();
}
|
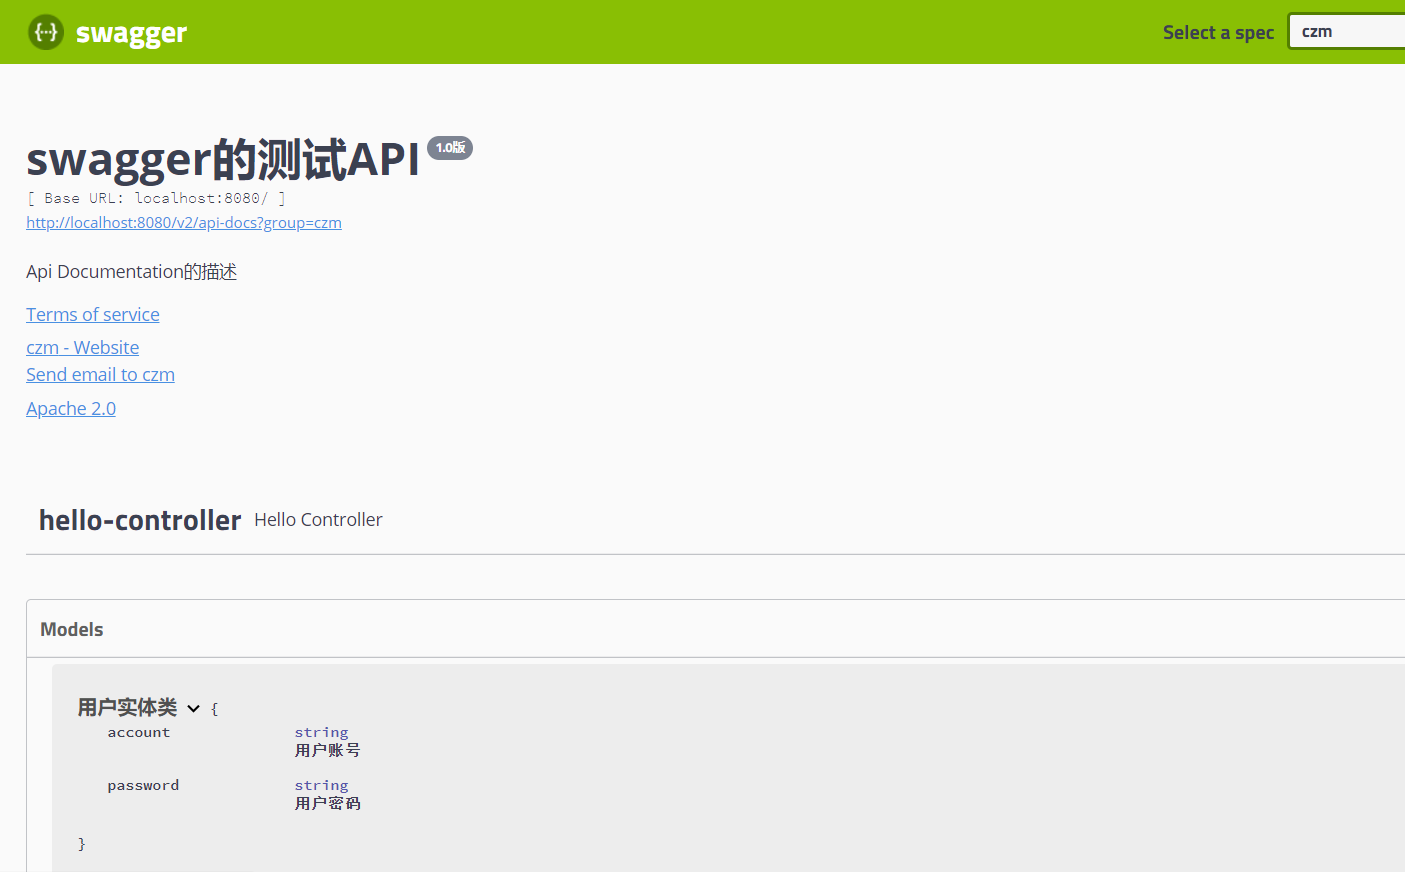
注:并不是因为@ApiModel这个注解让实体显示在这里了,而是只要出现在接口方法的返回值上的实体都会显示在这里,而@ApiModel和@ApiModelProperty这两个注解只是为实体添加注释的。
@ApiModel为类添加注释
@ApiModelProperty为类属性添加注释
常用注解
Swagger的所有注解定义在io.swagger.annotations包下
下面列一些经常用到的,未列举出来的可以另行查阅说明:
| Swagger注解 |
简单说明 |
| @Api(tags = “xxx模块说明”) |
作用在模块类上 |
| @ApiOperation(“xxx接口说明”) |
作用在接口方法上 |
| @ApiModel(“xxxPOJO说明”) |
作用在模型类上:如VO、BO |
| @ApiModelProperty(value = “xxx属性说明”,hidden = true) |
作用在类方法和属性上,hidden设置为true可以隐藏该属性 |
| @ApiParam(“xxx参数说明”) |
作用在参数、方法和字段上,类似@ApiModelProperty |
| @ApiImplicitParam() |
作用在方法上,表示单独的请求参数 |
| @ApiImplicitParams() |
作用于方法,包含多个 @ApiImplicitParam |
注:@ApiImplicitParam(name–参数名,value–参数说明 ,dataType–数据类型 ,example–举例说明,required–是否必填,
paramType–参数类型 )
paramType表示参数放在哪个地方
- header–>请求参数的获取:@RequestHeader(代码中接收注解)
- query–>请求参数的获取:@RequestParam(代码中接收注解)
- path(用于restful接口)–>请求参数的获取:@PathVariable(代码中接收注解)
- body–>请求参数的获取:@RequestBody(代码中接收注解)
- form(不常用)
我们也可以给请求的接口配置一些注释
1
2
3
4
5
6
7
8
9
10
11
12
13
14
15
16
17
18
19
20
21
22
23
24
25
26
27
28
29
30
31
32
33
34
35
36
37
38
39
40
41
42
43
44
45
46
47
48
49
50
51
52
53
54
| package com.czm.swagger.controller;
import com.czm.swagger.entity.User;
import io.swagger.annotations.*;
import org.springframework.web.bind.annotation.GetMapping;
import org.springframework.web.bind.annotation.PathVariable;
import org.springframework.web.bind.annotation.RequestMapping;
import org.springframework.web.bind.annotation.RestController;
import java.util.ArrayList;
import java.util.List;
/**
* @Author CZM
* @create 2020/10/16 16:49
*/
@RestController
@Api(value="swagger的hello模块",tags={"用户操作接口"})
public class HelloController {
@GetMapping("/czm/hello")
public String hello() {
return "hello";
}
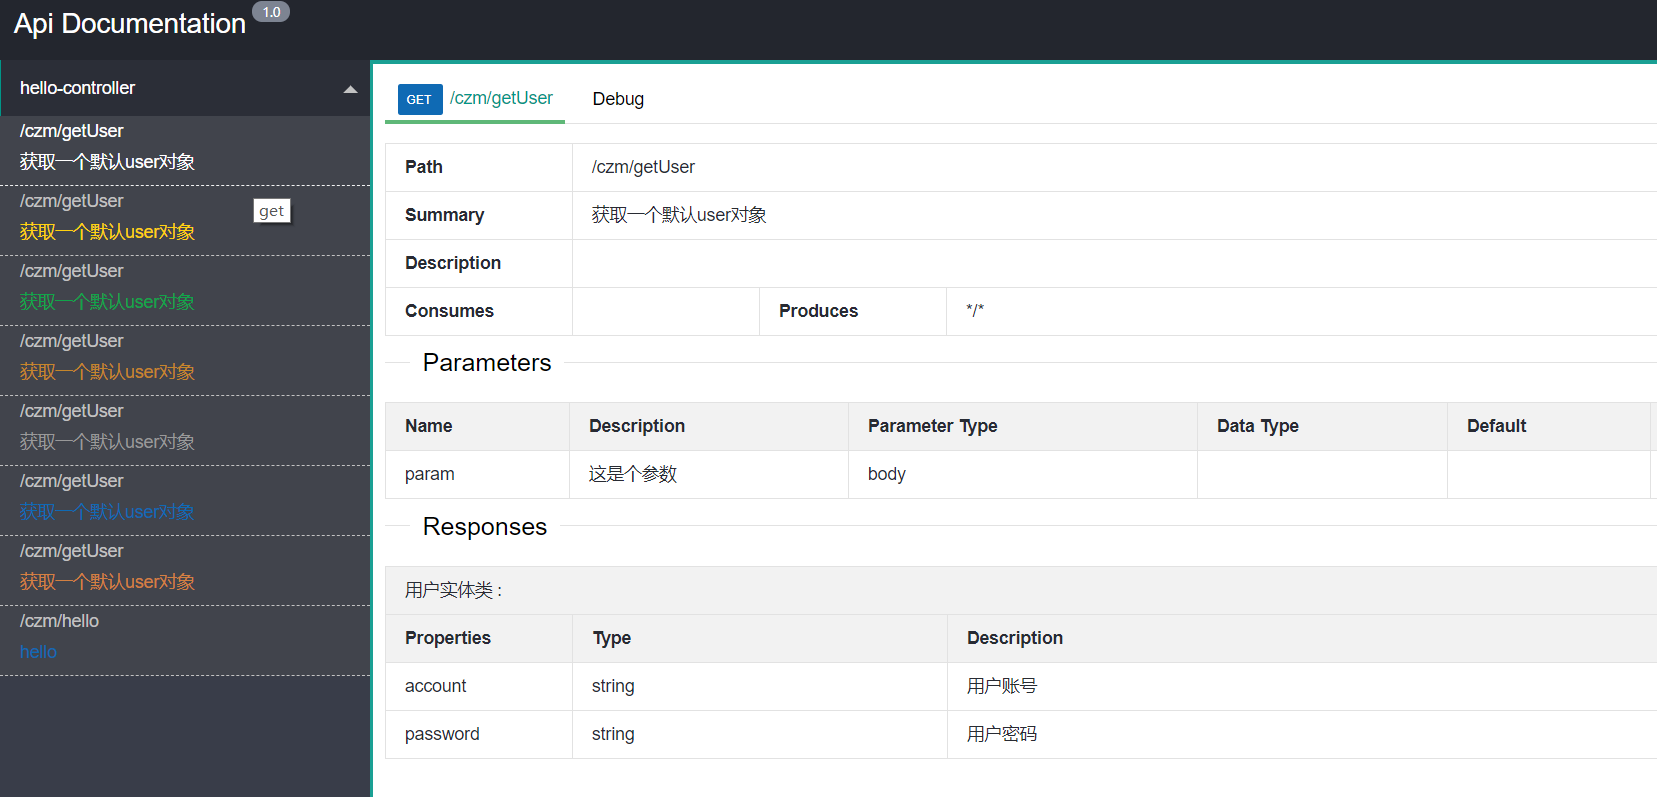
@GetMapping("/czm/getUser")
@ApiOperation("获取一个默认user对象")
@ApiResponses({@ApiResponse(code = 200, message = "good"),@ApiResponse(code = 401, message = "no power")})
public User getUser(@ApiParam(value = "这是参数1",name = "param") @RequestParam String param,
@ApiParam(value = "这是参数2",name = "param2") @RequestParam String param2){
return new User(param+"123",param2+"123456");
}
@GetMapping("/czm/getUser2/{account}/{password}")
@ApiOperation("获取一个指定user对象")
@ApiImplicitParams({
/**
* name–参数ming
* value–参数说明
* dataType–数据类型
* paramType–参数类型
* example–举例说明
* required–是否必填
*/
@ApiImplicitParam(name="account",value="用户名",dataType="String", paramType = "path",
example = "username",required = true),
@ApiImplicitParam(name="password",value="用户密码",dataType="String", paramType = "path",example = "password")
})
public User getUser2(@PathVariable("account") String account,
@PathVariable("password") String password) {
System.out.println(account+password);
return new User(account,password);
}
}
|
这样的话,可以给一些比较难理解的属性或者接口,增加一些配置信息,让人更容易阅读!
相较于传统的Postman或Curl方式测试接口,使用swagger简直就是傻瓜式操作,不需要额外说明文档(写得好本身就是文档)而且更不容易出错,只需要录入数据然后点击Execute,如果再配合自动化框架,可以说基本就不需要人为操作了。
Swagger是个优秀的工具,现在国内已经有很多的中小型互联网公司都在使用它,相较于传统的要先出Word接口文档再测试的方式,显然这样也更符合现在的快速迭代开发行情。当然了,提醒下大家在正式环境要记得关闭Swagger,一来出于安全考虑二来也可以节省运行时内存。
方式二:使用第三方依赖
1
2
3
4
5
| <dependency>
<groupId>com.spring4all</groupId>
<artifactId>swagger-spring-boot-starter</artifactId>
<version>1.9.1.RELEASE</version>
</dependency>
|
github上有配置详情
拓展:其他皮肤
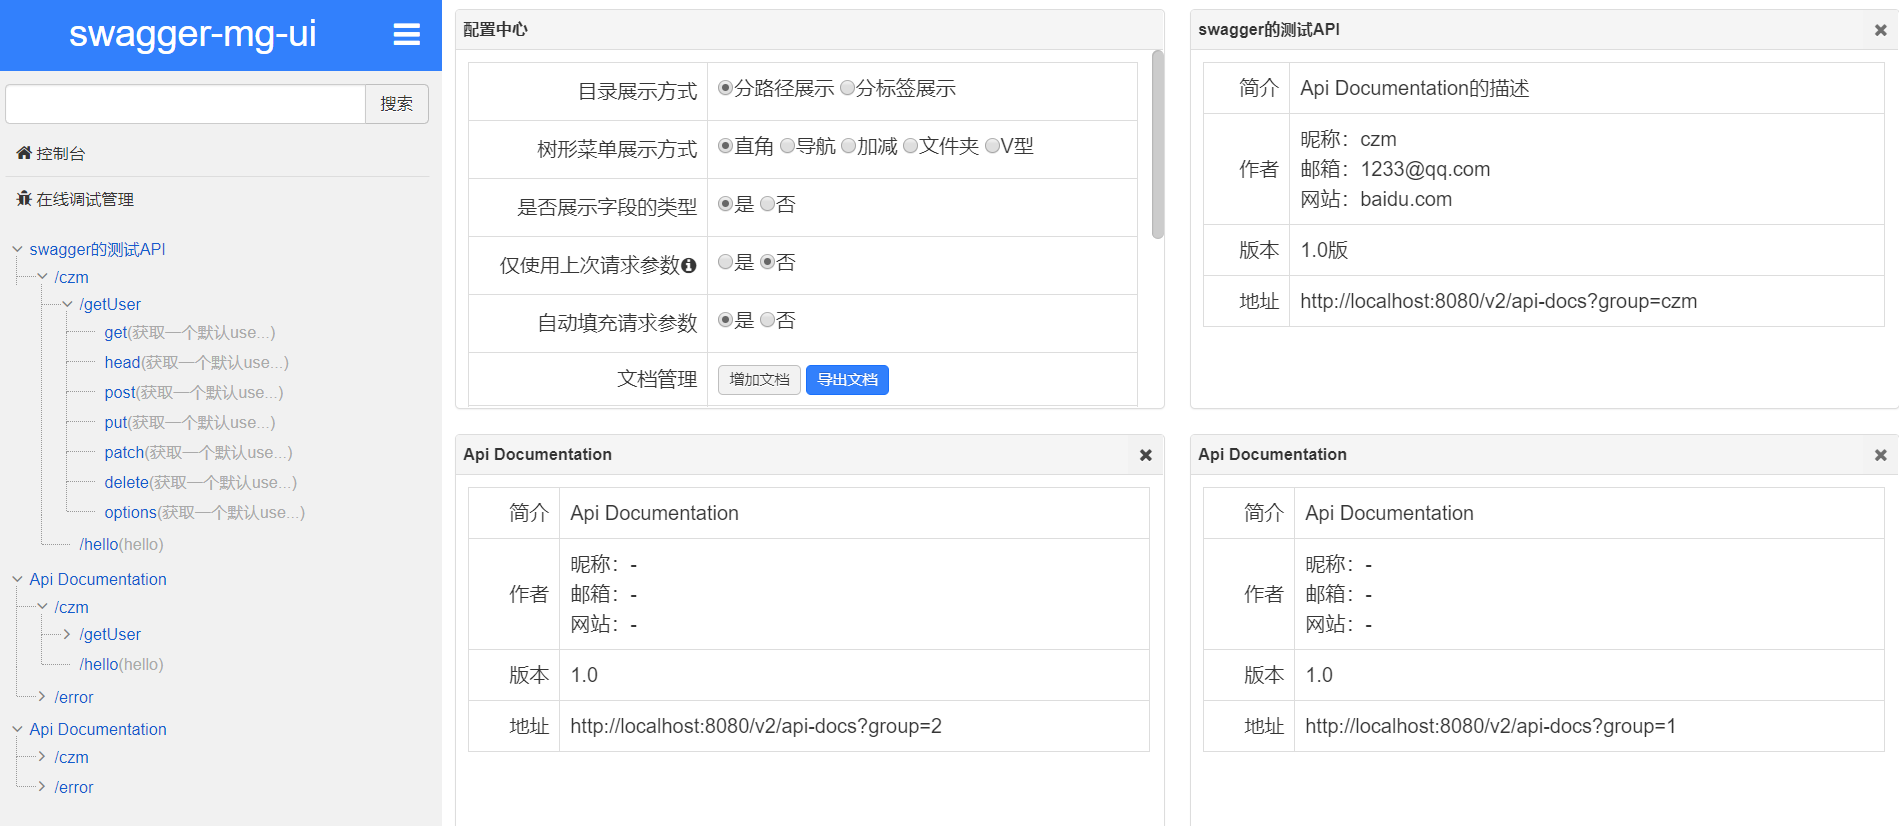
我们可以导入不同的包实现不同的皮肤定义:
1
2
3
4
5
| <dependency>
<groupId>com.github.xiaoymin</groupId>
<artifactId>swagger-bootstrap-ui</artifactId>
<version>1.9.1</version>
</dependency>
|
1
2
3
4
5
| <dependency>
<groupId>com.github.caspar-chen</groupId>
<artifactId>swagger-ui-layer</artifactId>
<version>1.1.3</version>
</dependency>
|
注:需注入一个groupName为默认的Docket
1
2
3
4
5
| <dependency>
<groupId>com.zyplayer</groupId>
<artifactId>swagger-mg-ui</artifactId>
<version>1.0.6</version>
</dependency>
|